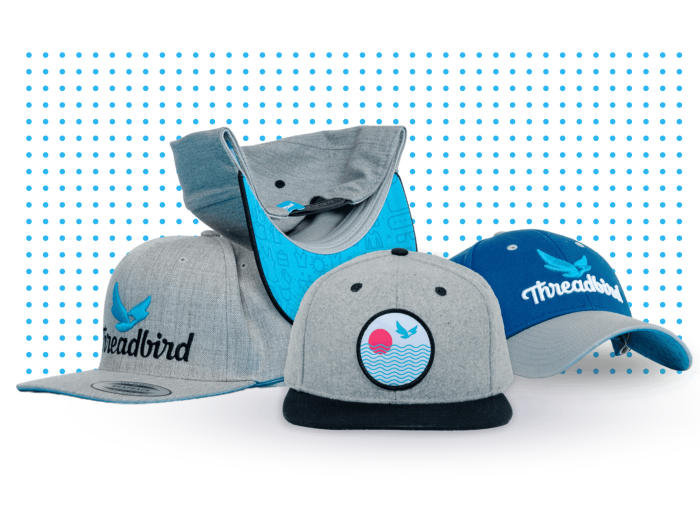
Create a completely custom hat
Our custom hat printing program enables you to reach your full design potential. With our capabilities, you can choose the material, hat style, and even add printed fabrics to your custom hat!


Welcome to Our Custom Hat Program!
Our custom hat printing program affords you with the creative freedom to design completely unique hats for your brand! Build a hat from the ground up, or customize an existing hat style that you love and make it your own. The hat customization capabilities are endless, from choosing the style & materials, to designing the features & overall look of the hat.

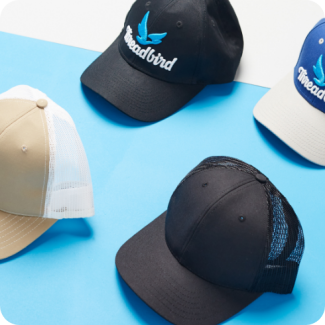
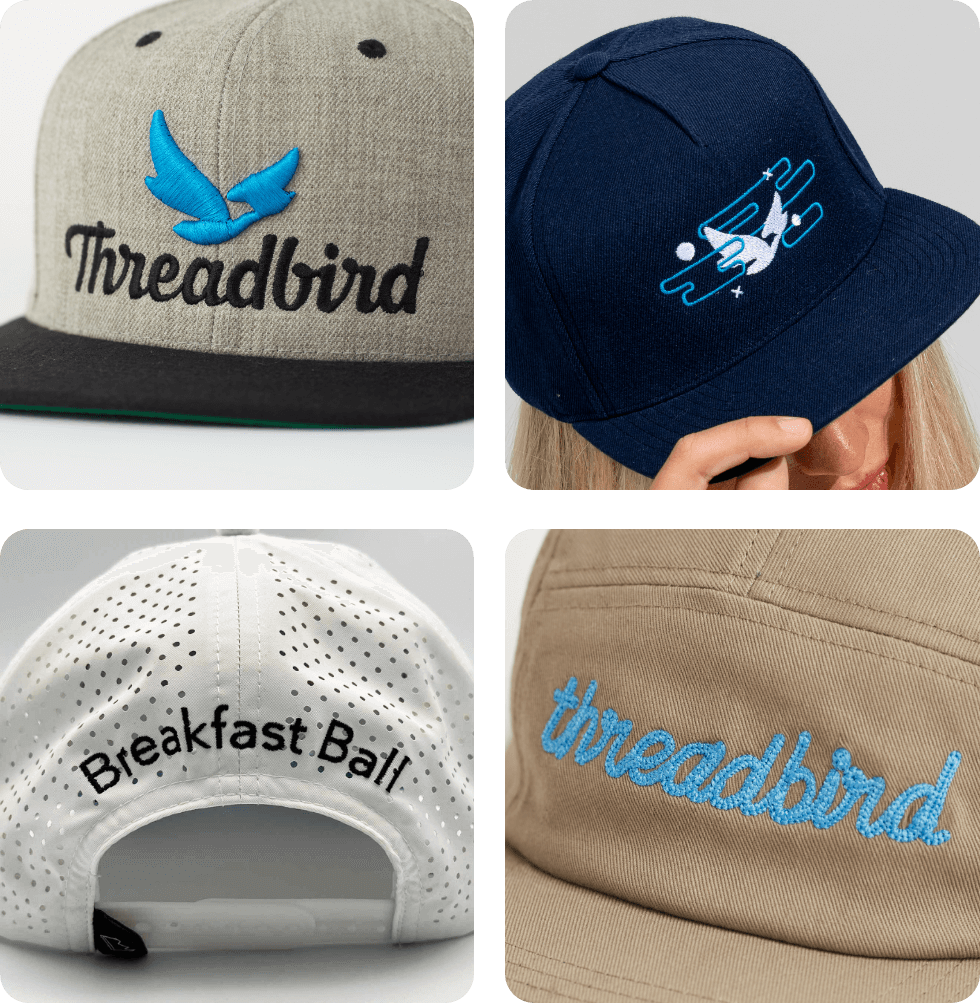
Start With Our Most Popular Styles
Build a custom hat that fits all of your needs! Handpick from one of our original silhouettes, or send us a hat that you love and our production team will match it!
Baseball Cap
6 Panel
Poly/Cotton Twill
Structured
Mid Profile/Crown
Curved Bill
Fitted

Flat Bill Hat
5 Panel
Poly/Cotton Twill
Structured
High Profile/Crown
Flat Bill
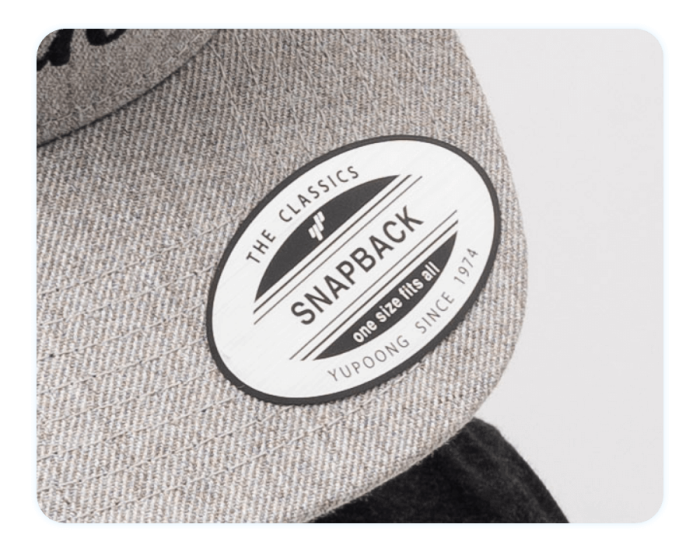
Snapback

Dad Hat
6 Panel
Cotton Twill
Unstructured
Low Profile/Crown
Curved Bill
Fabric Buckle Closure

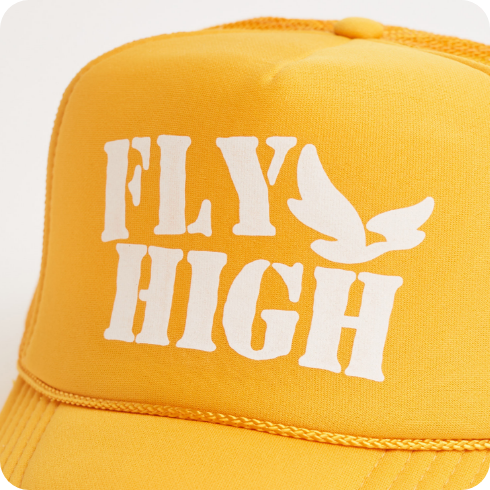
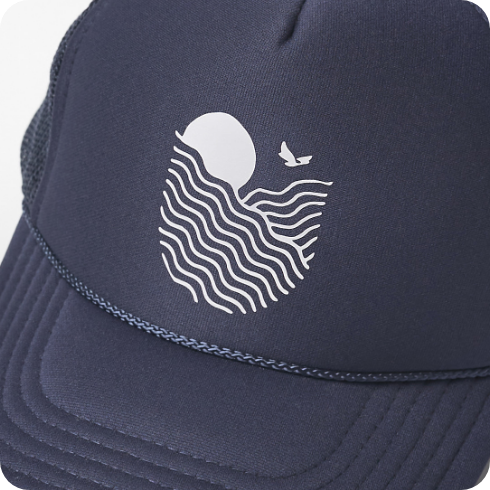
Foam Trucker
5 Panel
Polyester Foam
Structured
High Profile/Crown
Curved Bill
Snapback

7 Panel Surfer
7 Panel
Poly/Cotton Twill
Structured
High Profile/Crown
Flat Bill
Snapback

Camper Hat
5 Panel
100% Polyester
Unstructured
Mid Profile/Crown
Flat Bill
Nylon Closure

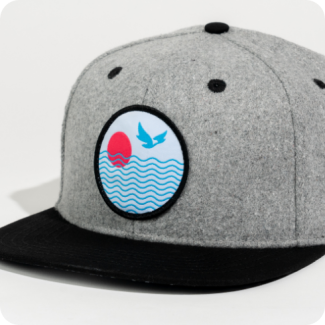
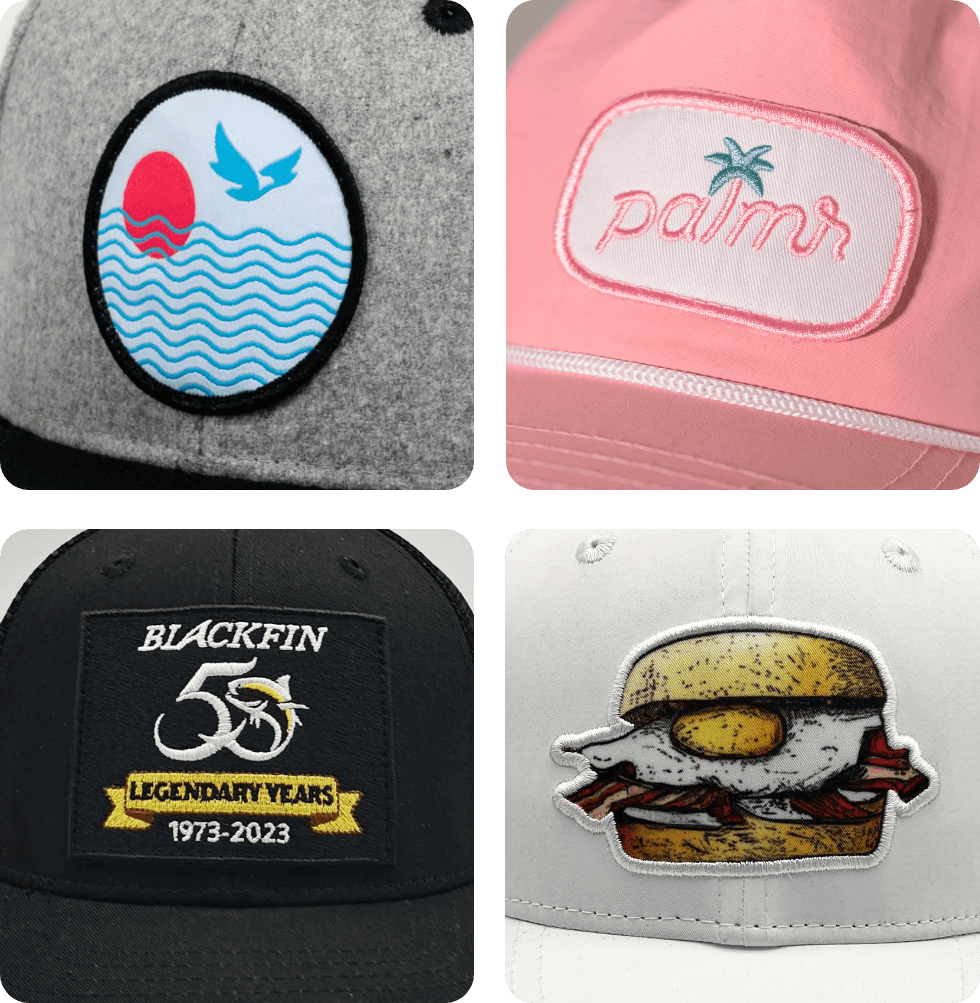
Custom Decorations
Create the overall look, feel, and design of your hat. Personalize all its features like the structure, fabric types, colors, and decoration to align with your brand. Choose from one of our popular hat styles, and jump right to Step 6 to start decorating your hat. Or build a completely unique custom hat of your own, by following the steps below!
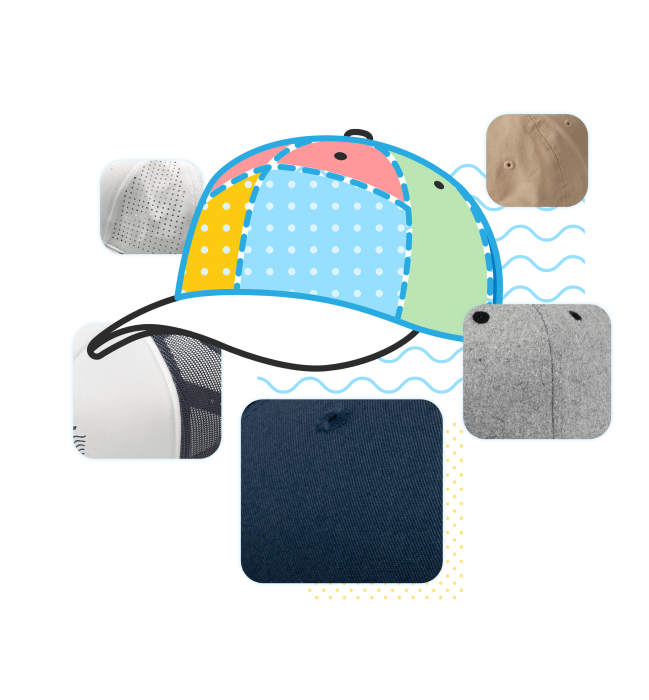
Or construct a completely unique, fully custom hat from the inside out!
Get creative with our unlimited hat design customization options, and bring your branding ideas to life through our 7-step customization process.


Step 1
Select Hat Panels & Materials
Panels = pieces of fabric that make up the side and back portion of the hat. With so many hat styles to choose from it's important to consider which hat style & form would be the best for your brand. From one style to another, the different number of panels offers distinct benefits for hat design and material customization. We can source just about any kind of material - so just ask! Or choose from these standard materials to personalize the hat panels:
- Cotton Twill
- Poly/Cotton Twill
- Wool
- 100% Polyester
- Foam

Step 2
Pick Hat Structure
The most important feature of your hat is the shape & structure that you choose. The main, front panel of the hat that hugs the head (otherwise known as the ‘crown’) falls into two categories: structured & unstructured.
- Structured hats have an entirely spherical shape due to a rigid backing behind the two front panels which keeps their form when worn i.e taken off (Ex: Baseball Cap, Snapback, Flat Bill). Given its firm structure, structured hats are ideal for logo visibility & durability (or longevity) - whether it’s patched, embroidered, or screen-printed.
- Whereas unstructured hats do not have a rigid backing behind the front panel, and so their shape is less-form fitting and firm. Unstructured hats are a great option if you’re looking for a relaxed style with a more flexible fit.
Step 3
Select Profile/Crown
When it comes to design customization, the slope height of a hat's profile (commonly known as the ‘crown’) is an important feature that factors into the outcome of your design. All hat styles come in different shapes & sizes, each suited for different head sizes. So we've broken them down into three profiles:

Low-profile caps have a shorter, more shallow crown that is often paired with a pre-curved visor and sit lower on the head with a relaxed fit.

Mid profile hats are a happy medium between low and high profile caps. They have a crown that is not too high or too low, but is slightly taller than low-profile.

High-profile hats have a taller, extended crown height to them. To support the tall crown, the front panels of these hats are typically more structured.
Step 4
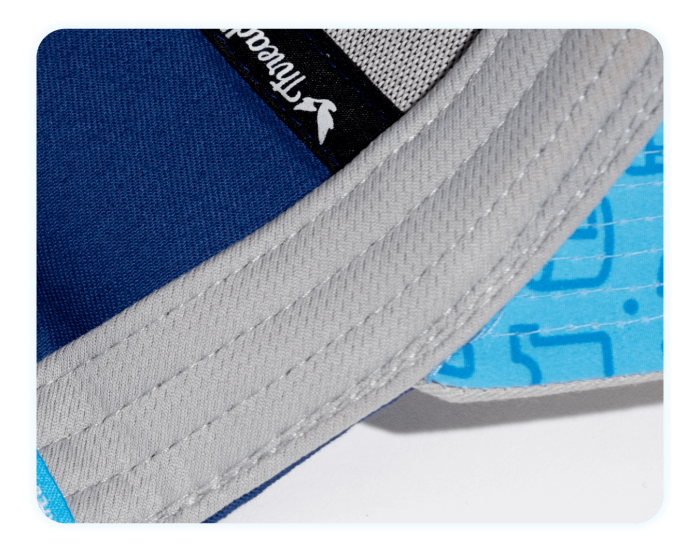
Select Visor Options
Pre-Curved Rounded

Pre-Curved Square

Flat Rounded

Flat Squared

Step 5
Closure Styles
Snapback

Self Fabric Clip

Self Fabric Slide

Velcro

Fitted

Leather with Clip

Flexfit

Nylon

Leather Buckle

Additional Options
Got Ideas?


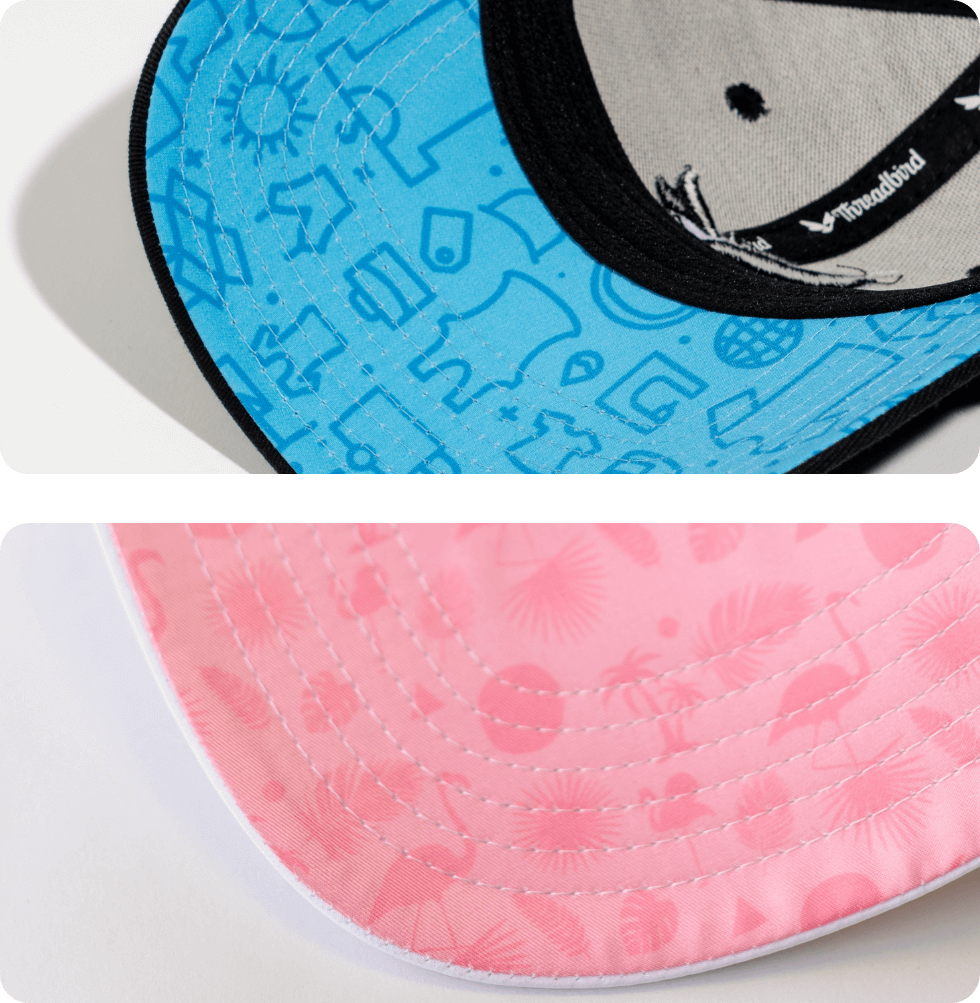

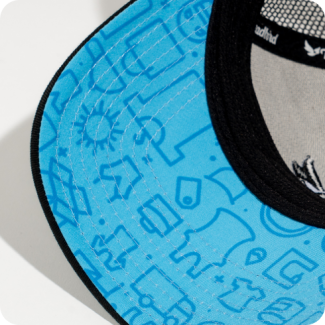
Step 7
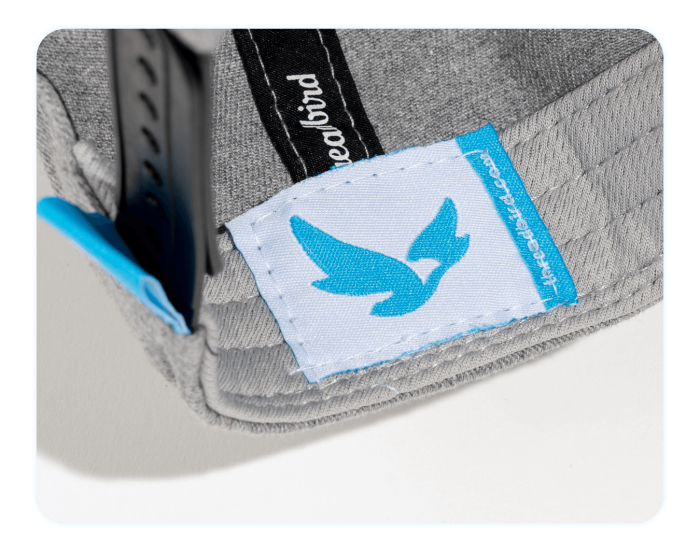
Finishings
Embellish your custom hat design, from the inside out! Polish it off with these branding finishings:


Order Our Sample Custom Hat!
Get a look and feel for the quality, construction and decoration of our custom hats by seeing the hat for yourself.

Frequently Asked Questions
Have a quick question? Check out our most commonly asked Custom Hat questions below.
Threadbird offers snapbacks, dad hats, 5-panels (flat brim hats), beanies, and more—available for embroidery or full custom production.
Yes! Threadbird offers embroidery for bulk orders, plus fully custom manufacturing if you want a one-of-a-kind hat design.
Stock hats are pre-made blanks printed with your design; fully custom hats are built from scratch with your specs.
You can upload your logo or collaborate with Threadbird’s art team to design something embroidery-ready.
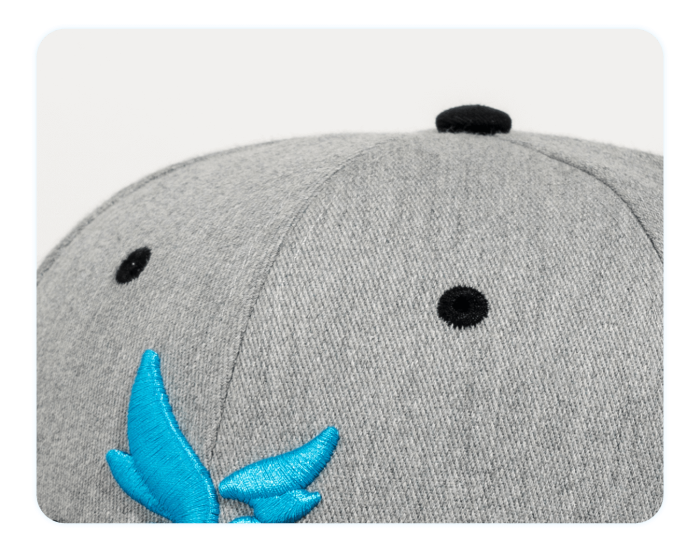
Embroidery is the most popular, but you can also add woven patches, 3D puff, or printed elements depending on the hat.